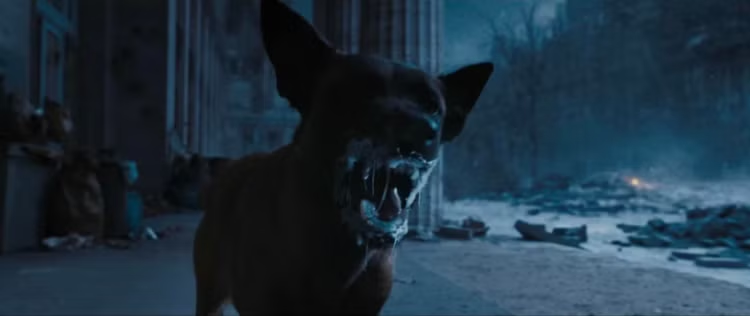
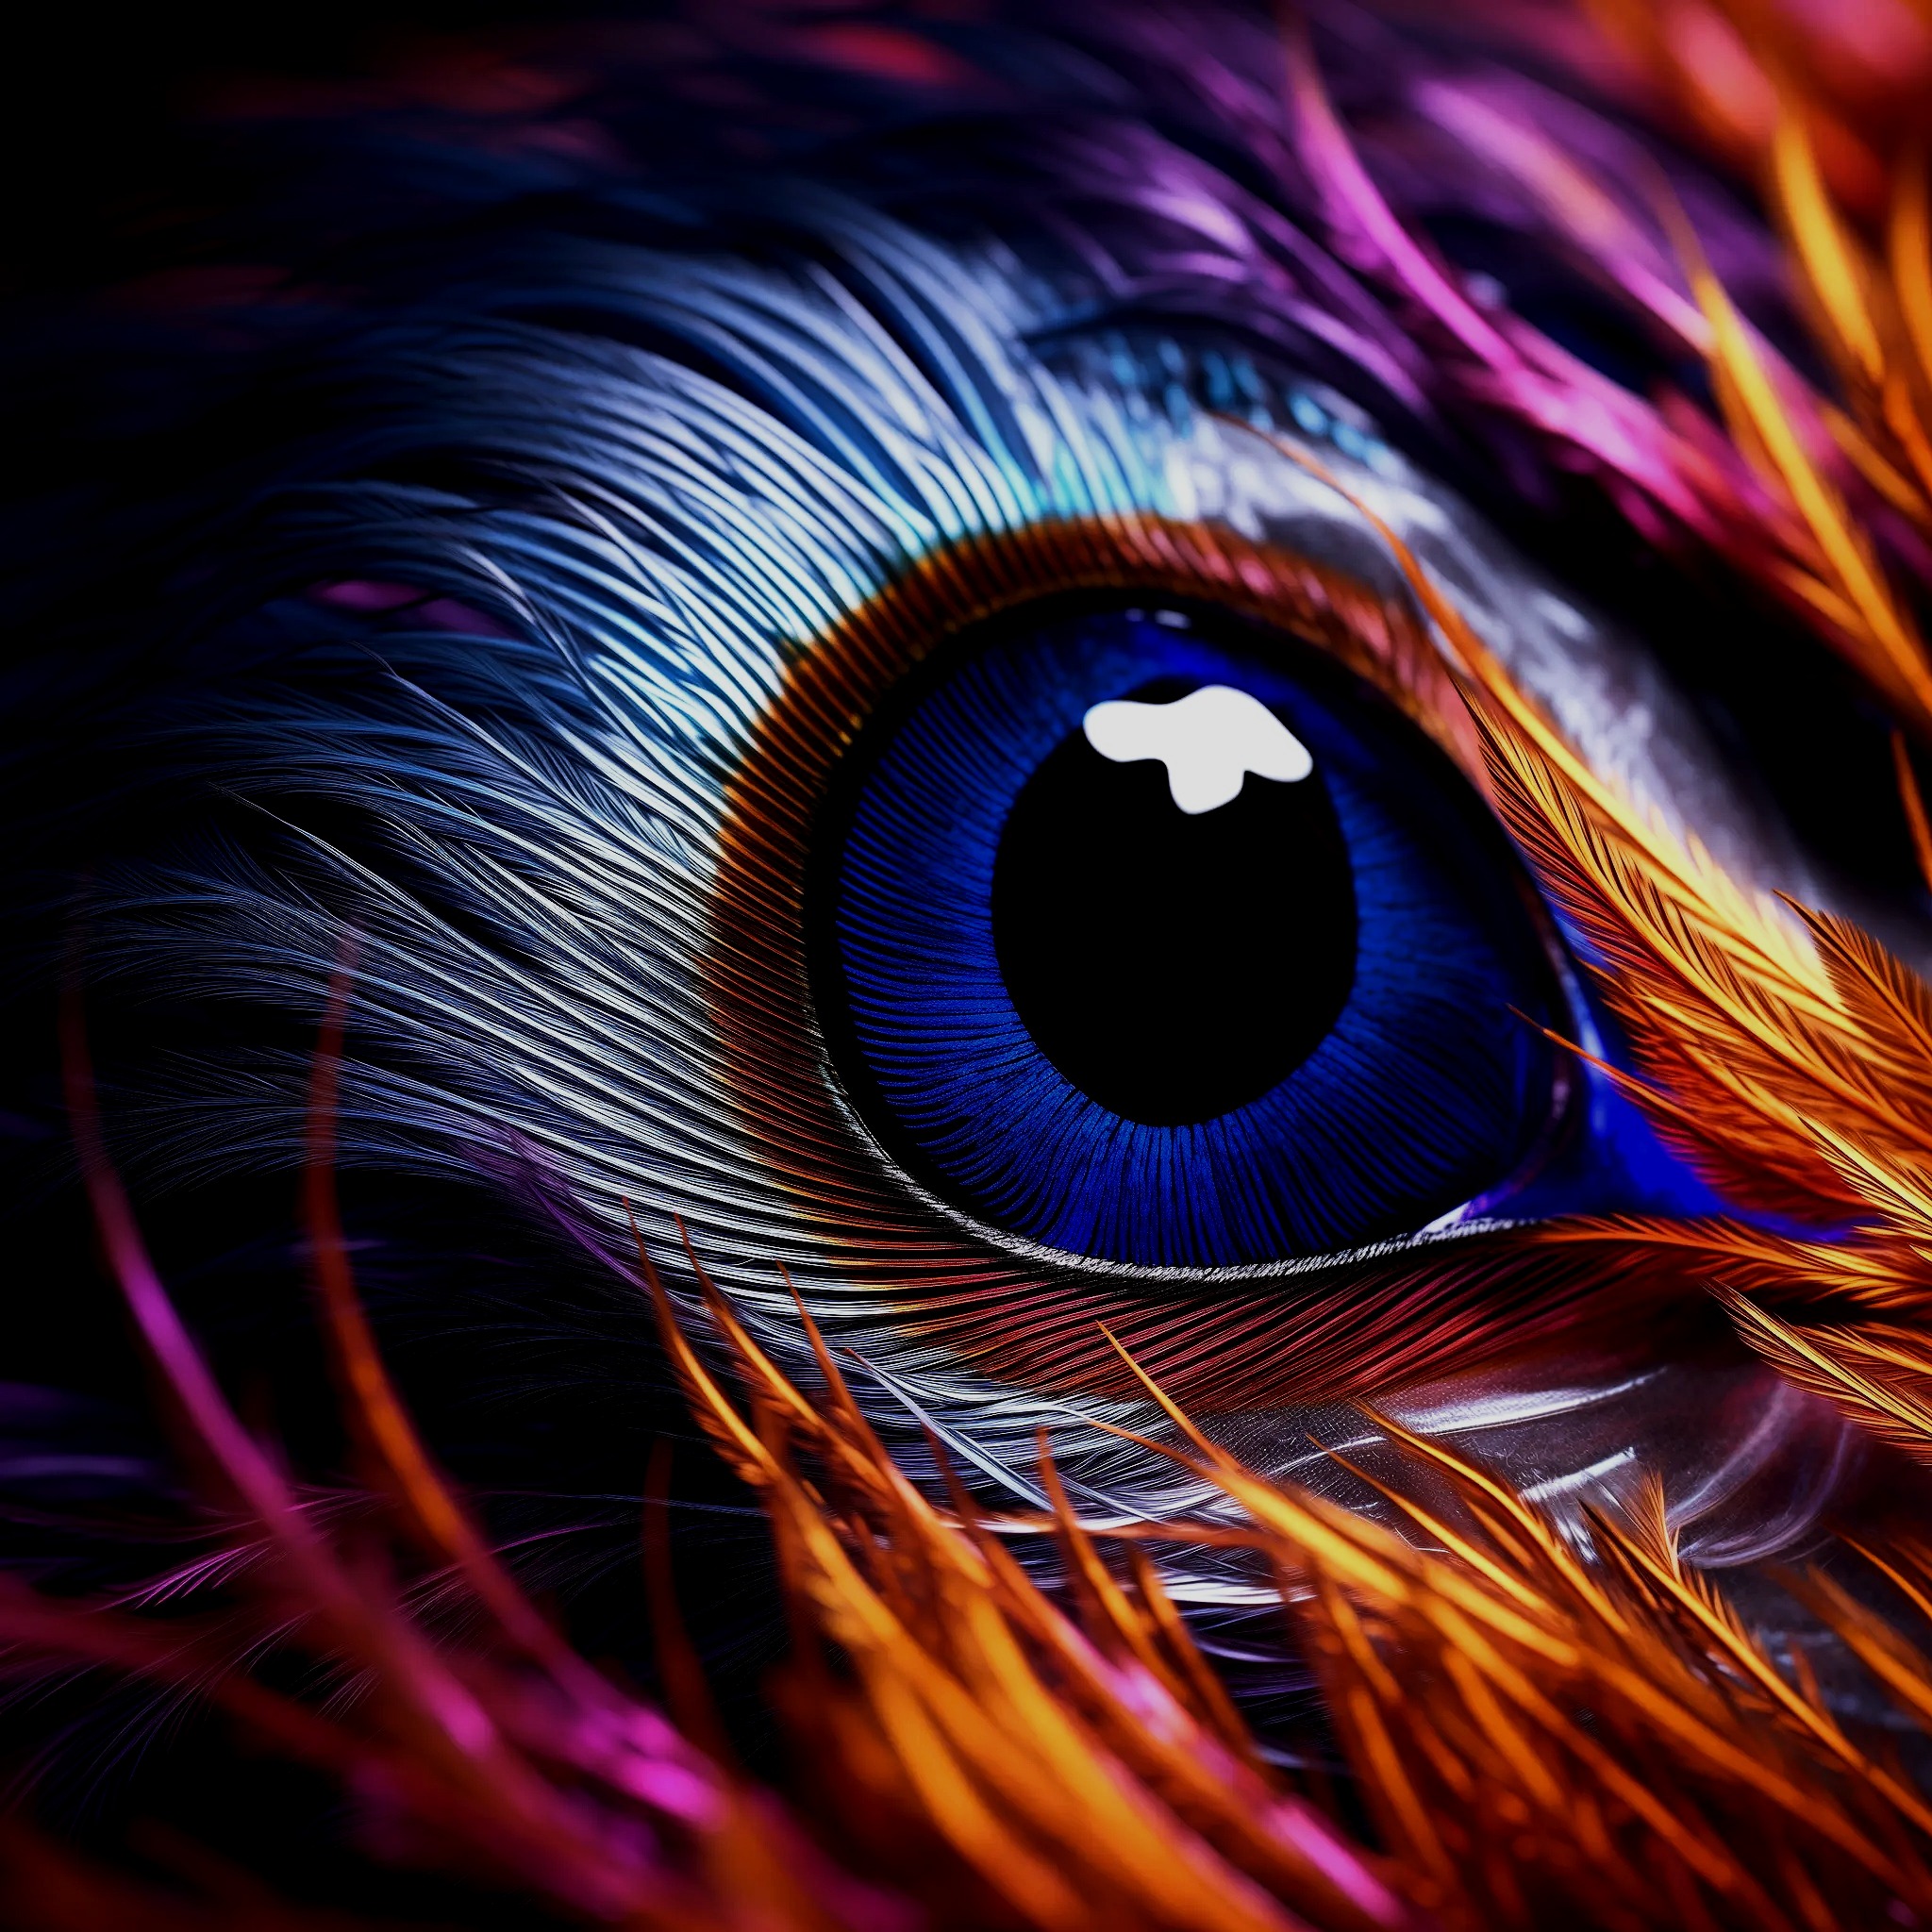

How do you texture a digital creature so its skin, scales, fur, scars, and wear feel biologically connected instead of digitally painted?
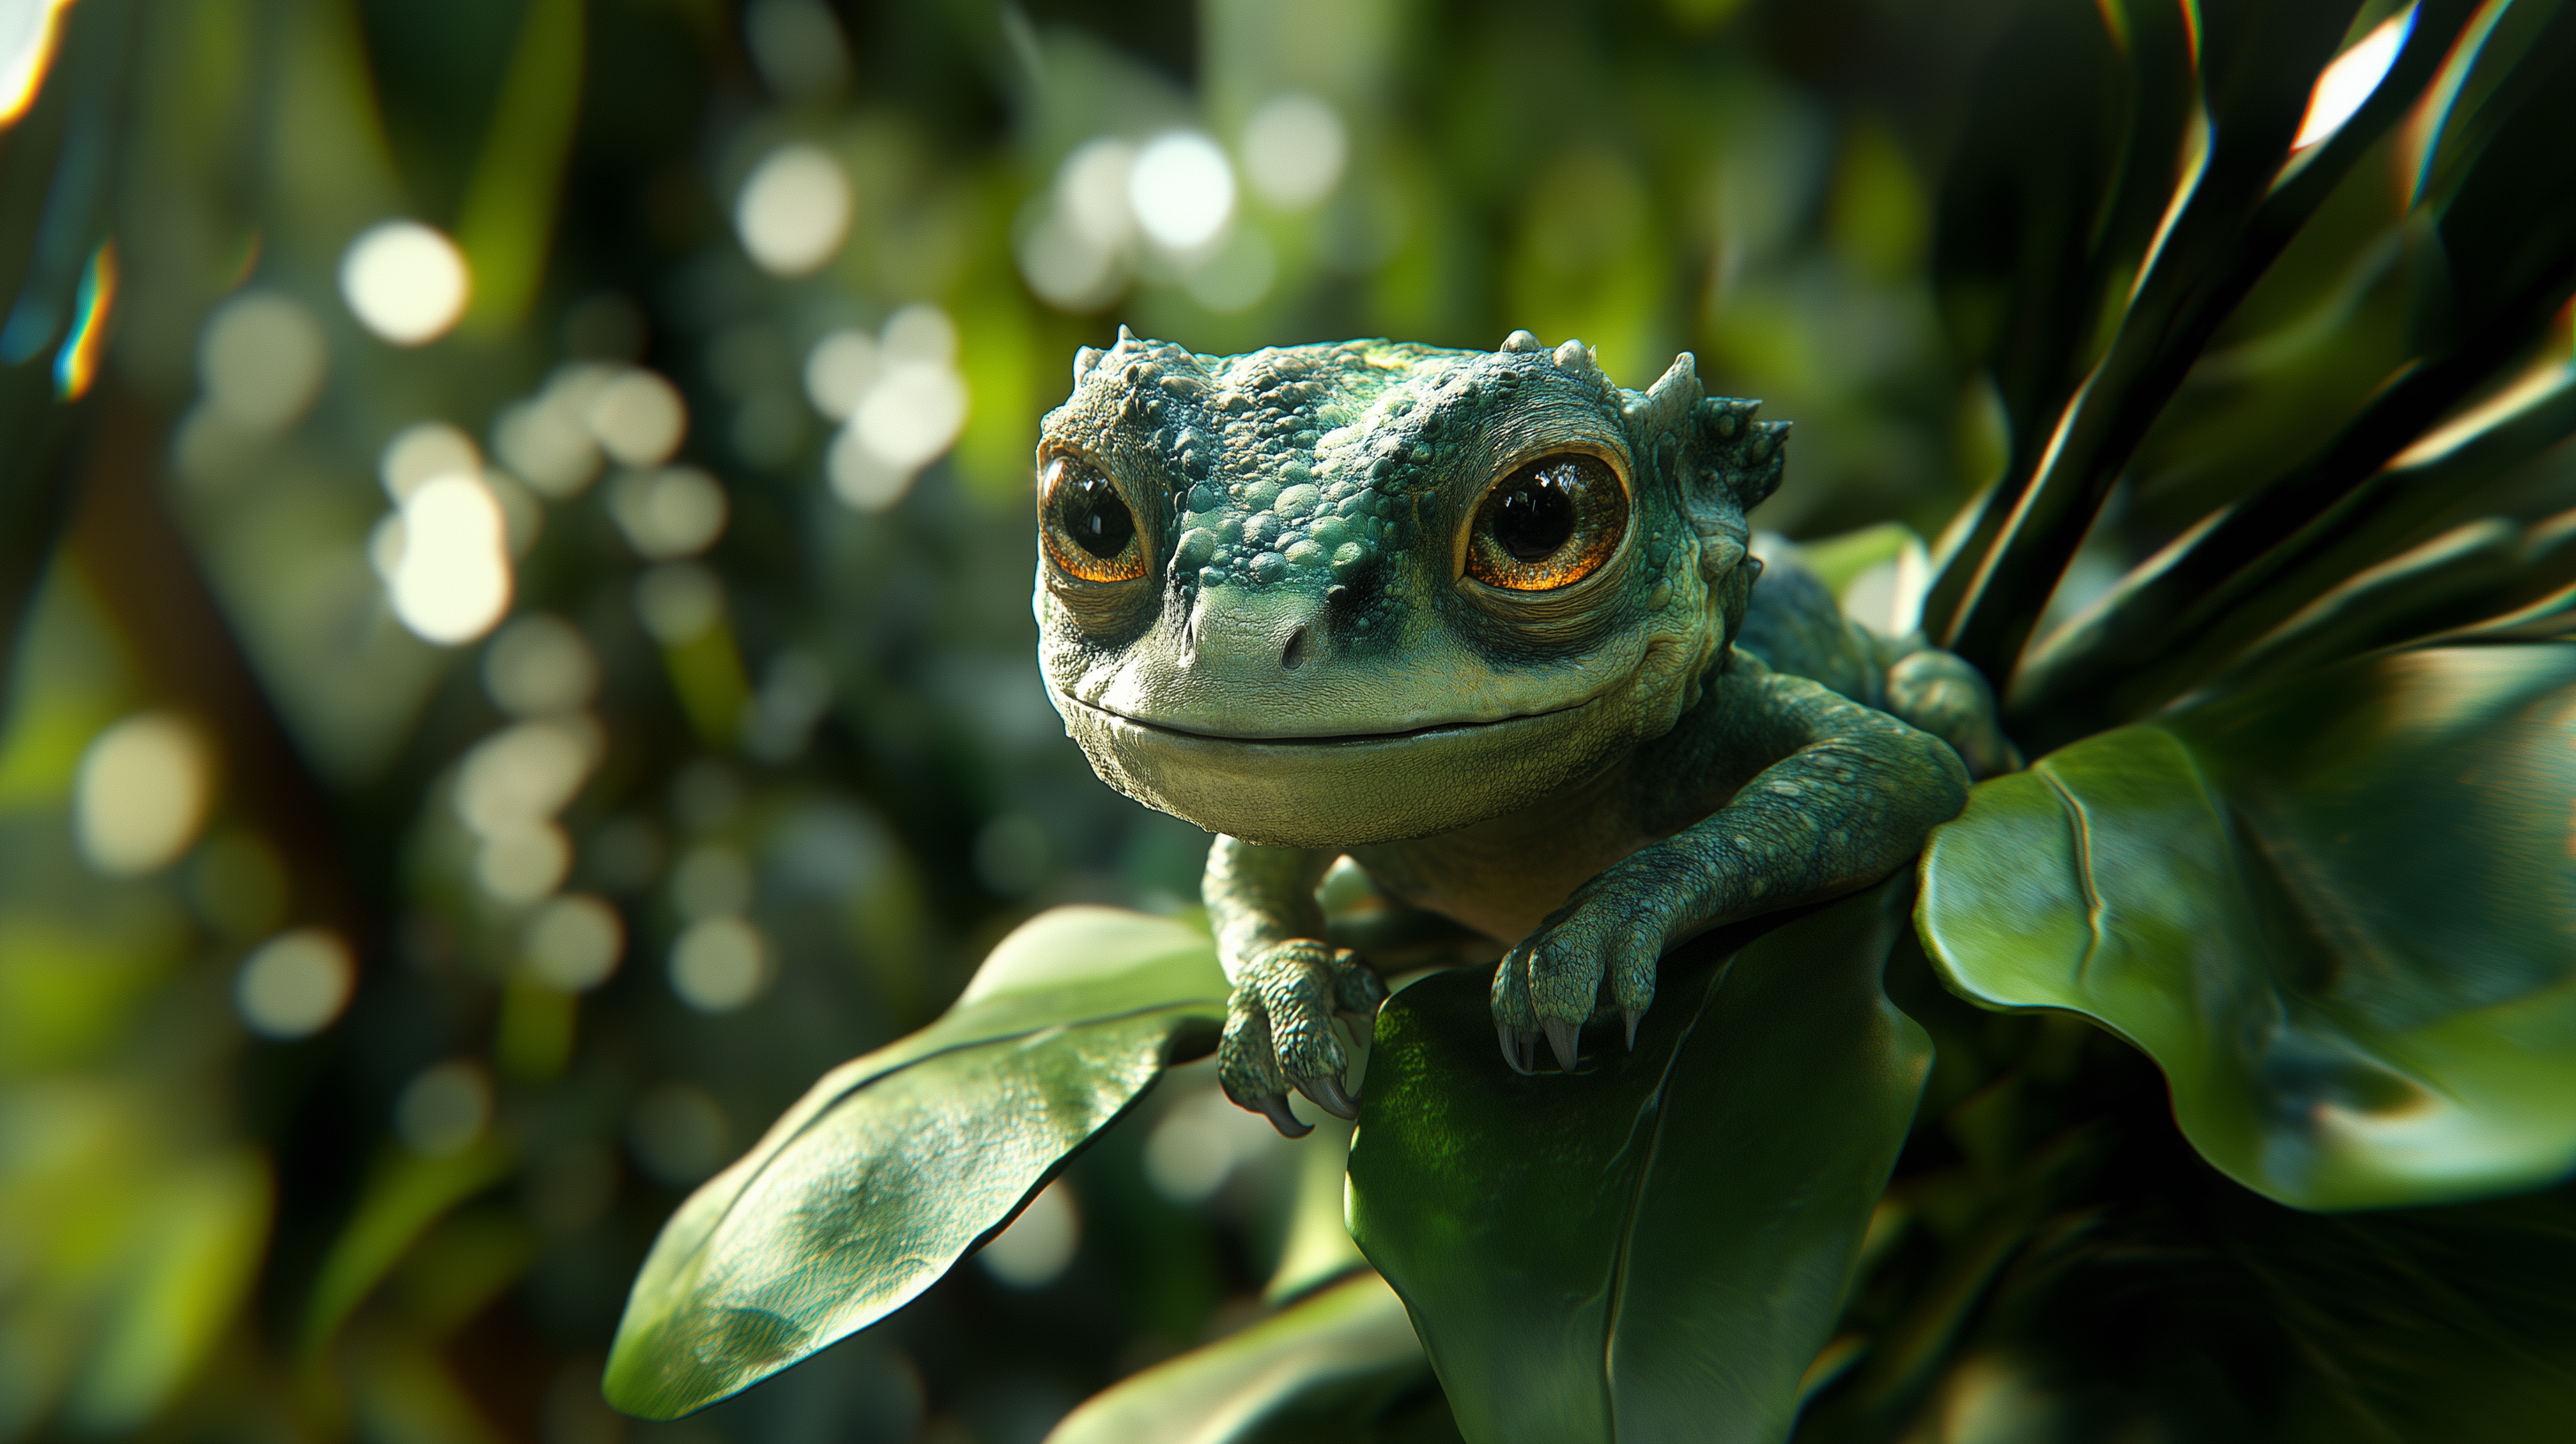
Creature texturing turns a sculpt into a believable living surface. The strongest work does more than add color: it explains anatomy, age, habitat, moisture, damage, grooming, and the way each material responds to light. A production-ready texture set must survive animation, close-ups, changing illumination, and the technical limits of games, VFX, XR, or virtual production.
This guide presents a practical creature texturing workflow from reference and biological logic through UVs, material breakup, displacement, look development, and delivery. It complements Mimic Creatures’ creature design services and its guide to building believable 3D creatures, while focusing on the decisions that make a surface feel alive.
Table of Contents
1. Start Creature Texturing With Biological Logic
2. Build UVs and Resolution Around the Camera
3. Layer Color, Roughness, Displacement, and Subsurface Detail
4. Connect Grooming, Scales, Scars, and Wear
5. Validate Creature Textures for Games, VFX, and XR
Start Creature Texturing With Biological Logic
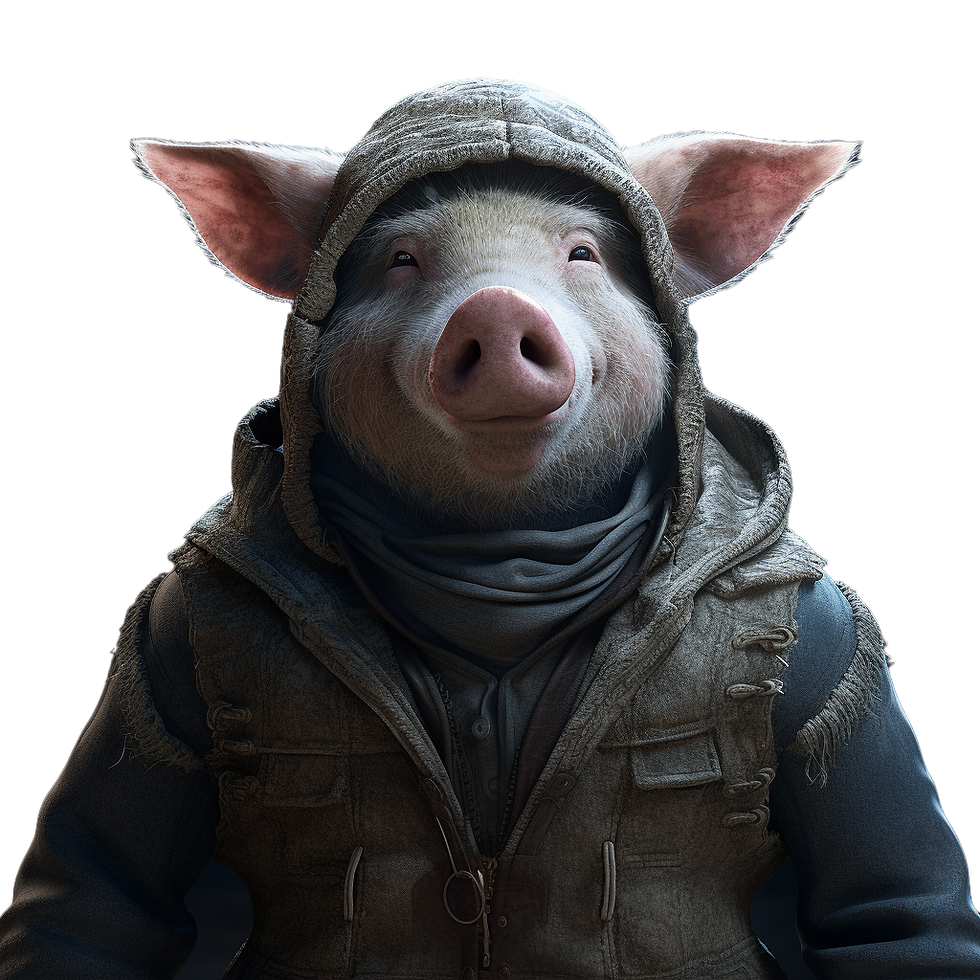
Before opening a painting application, define what the creature is made of and why. Its surface should emerge from anatomy, environment, behavior, and story. Ask whether the skin is mammalian, reptilian, amphibious, avian, insect-like, mineral, synthetic, or a deliberate hybrid. Decide how it regulates temperature, protects joints, sheds water, heals injuries, attracts mates, hides from predators, or displays dominance. These functions create a material hierarchy that is far more convincing than random noise.
Reference should be organized by purpose. Gather wide images for overall pattern, medium views for folds and directional flow, and macro photography for pores, scales, keratin, feathers, scars, and transitions. Do not copy one animal wholesale. Compare species that solve similar environmental problems, then combine observations according to the creature’s anatomy. The research logic used in alien creature design helps an invented surface remain understandable when no exact real-world equivalent exists.
Map zones before painting detail. Mark high-friction areas, protected cavities, thin membranes, fatty regions, rigid plates, calluses, blood-rich tissue, exposed horn, and places that collect dirt or moisture. Consider how movement changes them. Skin around shoulders compresses differently from a belly; lips and eyelids need softness; foot pads need grip and wear; horns and claws grow in layers. When texture follows deformation, animation reinforces the design instead of revealing a static shell.
Separate permanent species traits from temporary states. Pigmentation, scale arrangement, pores, and old scars may belong to the core asset. Fresh wounds, wetness, mud, dust, frost, or story-specific paint should remain adjustable. This makes the creature easier to reuse across sequences, levels, lighting conditions, and narrative states without repainting the whole surface.
Write a biological purpose for every major material.
Study transitions between skin, horn, fur, scale, membrane, and mouth tissue.
Review the material plan with modeling, rigging, grooming, lighting, and animation.
Approve large patterns at shot distance before adding microdetail.
Build UVs and Resolution Around the Camera

UV decisions should follow how the creature will be seen, animated, and delivered. A face used in cinematic close-ups needs more effective resolution than a hidden underside. A game boss viewed from several distances needs stable mip behavior and predictable streaming. An XR creature may be inspected from angles the director cannot control. Define the closest camera, output resolution, expected screen coverage, animation range, and target memory before choosing tile counts or texel density.
Keep related anatomical regions easy to inspect and paint. Seams should sit in natural boundaries or low-visibility zones, but never at the expense of severe stretching around joints and expressive areas. Test UVs with a grid while the rig performs extreme poses. A layout that looks clean in neutral pose may distort around a jaw opening, wing fold, crouch, or shoulder rotation. Mimic’s explanation of how 3D character modeling changes for creatures shows why topology and motion must be planned together.
Resolution should be intentional rather than uniformly maximal. Hero regions may use additional UDIMs or layered detail maps, while repeating pores, scales, and microfibers can come from tileable maps, procedural masks, or shader detail. Maintain consistent apparent detail across adjacent tiles and document exceptions. If one limb has twice the density of the torso without a camera reason, the difference can become visible under grazing light.
Create neutral diagnostic renders early. Use calibrated lighting, a plain material, and several camera distances to check seams, stretching, texture frequency, and silhouette. Rotate the light to expose distortion. This is the inexpensive stage to adjust UV allocation; late structural changes can break paint, groom masks, displacement, caches, and approved look-development renders.
Layer Color, Roughness, Displacement, and Subsurface Detail
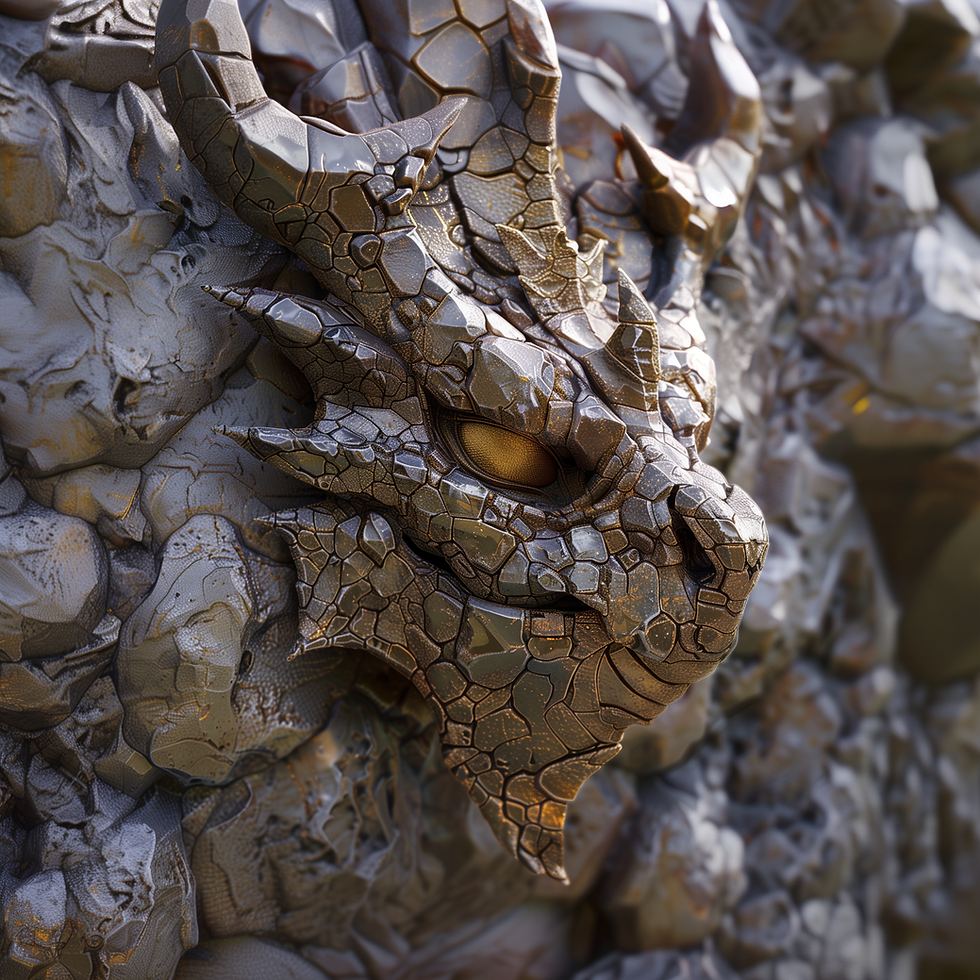
Believable creature texturing depends on relationships between channels. Base color should describe pigmentation without baked lighting. Roughness should explain oil, dryness, abrasion, dust, mucus, scars, and material changes. Normal and displacement maps should support form at different scales. Subsurface and transmission should respond to tissue thickness, blood flow, and backlighting. When every channel repeats the same noise at the same strength, the result looks procedural rather than organic.
Work from large to small. Establish broad color families across the body, including countershading, camouflage, display markings, and blood-rich regions. Add medium-scale breakup around muscles, joints, scale groups, wrinkles, and wear. Only then introduce tertiary detail. Return to delivery distance after every pass. Detail that looks impressive at extreme zoom may disappear in the shot or create distracting shimmer in real time.
Roughness is often the most important realism channel because it controls highlight shape. Compare a wet nose, dusty hide, oily eyelid, dry scale, scar, claw, and mouth interior under one light. Their colors can be similar while their highlights differ completely. Build roughness from material logic, then introduce controlled irregularity. Avoid a global grunge overlay that makes every region equally dirty and erases anatomical hierarchy.
Displacement should reinforce sculpted anatomy, not compete with it. Use low frequency for folds and plate height, medium frequency for wrinkles and scale structure, and fine normal detail for pores or scratches. Check silhouette and deformation with displacement active. The creature integration guide explains why surfacing must stay compatible with rigging, rendering, optimization, and delivery.
Subsurface scattering needs restraint. Thin ears, nostrils, membranes, gums, and eyelids may transmit more light than a thick torso or armored plate. Build thickness-aware masks and judge them under several exposures. Excessive scattering makes skin waxy; too little makes living tissue look like painted plastic. Match the effect to the creature’s scale because light penetrates a tiny animal differently from a giant beast.
Connect Grooming, Scales, Scars, and Wear
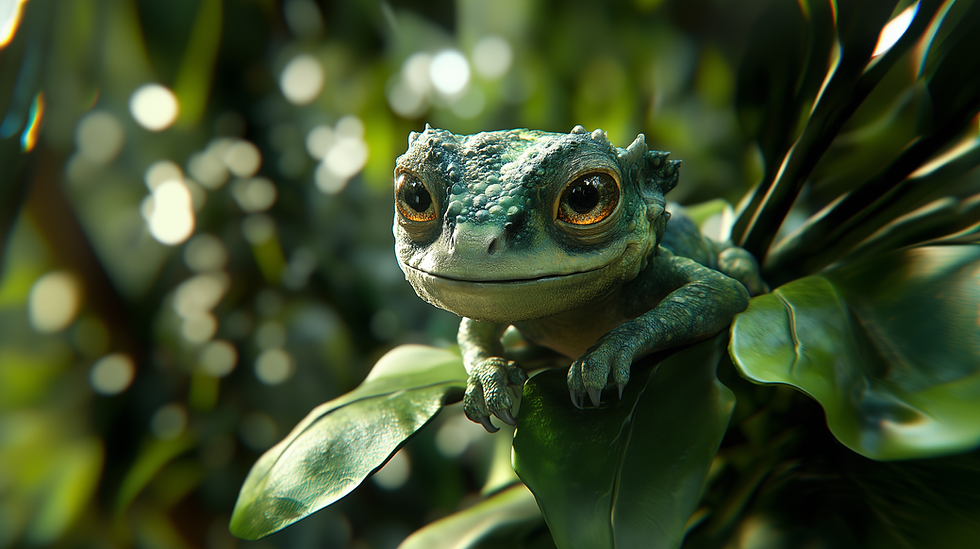
Complex creatures combine painted textures with geometry, grooming, procedural systems, and simulation. Fur density, clumping, length, color, and direction should follow anatomy and behavior. Hair grows from skin, parts around joints, compresses under contact, catches debris, and changes with age or health. Groom masks and skin texture need a shared plan. A beautiful groom feels detached if the underlying skin carries unrelated color, scale, or roughness patterns.
Scales and plates need hierarchy. Avoid stamping identical shapes across the body. Large structural scales should follow muscle and joint flow; medium groups should break repetition; fine detail can fill transitions. Compress or stretch the pattern where growth and movement demand it. Give exposed tips, valleys, and plate edges different wear responses. The surface should appear to have grown with the creature rather than being wrapped around a finished model.
Scars, dirt, and damage tell story only when they obey cause. A scar crosses pigmentation and structure in a way that reflects healing. Mud collects in cavities and splashes according to movement. Sun exposure affects upper planes; moisture gathers in protected folds; repeated contact polishes or thickens surfaces. Keep these layers separate when production may require clean, wet, wounded, aged, or environment-specific variants through a creature pipeline handoff.
For multi-limb species, directional detail becomes a rigging issue. Scale flow, fur direction, folds, and contact wear help viewers understand which limbs carry weight. Coordinate these cues with the deformation strategy in Mimic’s multi-limb creature rigging guide. Test repetitive detail during motion, since regular rows can reveal stretching or make complex movement visually noisy.
Validate Creature Textures for Games, VFX, and XR
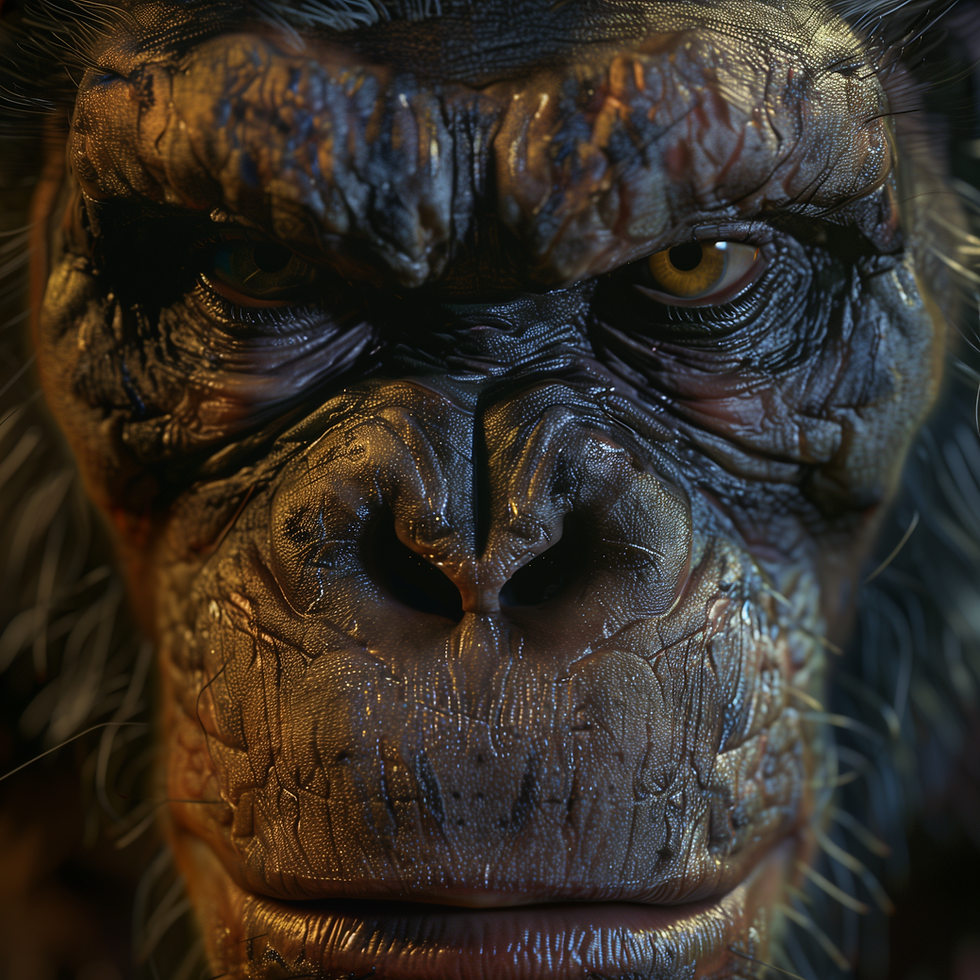
A creature texture is not finished when it looks good in one beauty render. Validate under neutral studio light, hard directional light, soft overcast light, warm and cool environments, backlight, low exposure, and actual production lighting. Rotate both creature and light. Grazing angles reveal seams, unstable roughness, excessive displacement, and frequencies that flatten anatomy. Neutral tests separate material quality from flattering cinematography.
Animation tests are equally important. Open the mouth, blink, stretch the neck, compress the torso, fold wings, bend toes, and run locomotion cycles. Watch for UV distortion, sliding detail, broken groom masks, intersecting scales, and scars that deform like rubber. Review facial regions at conversational distance and close-up. A surface can be technically dense yet emotionally unreadable if markings or highlights obscure the eyes and mouth.
For games, test streaming, mip levels, filtering, compression, shader complexity, LOD transitions, and performance on target hardware. Reduce noise before increasing resolution. For VFX, inspect displacement bounds, render subdivision, ray depth, color management, cache compatibility, and shot continuity. For XR, evaluate both eyes, viewer distance, comfort, and changing illumination. Use the creature QA testing checklist to turn reviews into acceptance criteria.
Package delivery so another artist can reproduce it. Include source files, exported maps, color-space notes, UDIM conventions, channel packing, shader versions, displacement scale, groom dependencies, render or engine settings, and approved frames. Document which layers are species-level, character-specific, environment-specific, and shot-specific. This protects the look when assets move between teams, episodes, engines, or updates.
Approve the asset in motion, not only in a turntable.
Check every map for correct color space, naming, bit depth, and channel use.
Compare the final surface against the biological and story brief.
Confirm that close-up, gameplay, and XR distances receive appropriate detail.
Record known limitations and create a regression set for future revisions.
Creature Texturing FAQ
What is creature texturing?
Creature texturing authors the color, roughness, displacement, normal, subsurface, and other surface properties that make a digital creature’s skin, scales, fur, horn, claws, scars, and wear look coherent.
What maps are commonly used?
Common maps include base color, roughness, normal, displacement, thickness or subsurface controls, material masks, and renderer-specific packed maps. The exact set depends on the target pipeline.
How much resolution does a hero creature need?
Resolution depends on closest camera distance, screen coverage, output resolution, platform memory, and reuse. Allocate by visible need and validate with the real camera.
How do fantasy creature textures look realistic?
Ground them in biological purpose, anatomy, real material references, and consistent light response. Combine references according to habitat and behavior instead of adding random detail.
Should scars and dirt be in the base texture?
Permanent traits can live in core maps, while dirt, wetness, wounds, and environment wear are often better as controllable layers for clean and damaged variants.
How does grooming connect to texturing?
Skin color, follicle density, groom direction, clumping, roughness, and breakup must share masks and anatomical landmarks so fur or feathers feel rooted in the body.
What changes for game creatures?
Game assets require attention to memory, streaming, compression, mip behavior, shader cost, LODs, channel packing, and target hardware. Detail must remain stable in motion.
How should textures be reviewed before delivery?
Review varied lighting, extreme animation poses, every camera distance, and the target renderer or hardware. Then verify maps, color spaces, naming, dependencies, and performance.
Conclusion
Strong creature texturing is a design system, not a finishing effect. Biological logic guides material zones; UV and resolution planning protect detail; layered channels create credible light response; grooming and wear extend story; and disciplined validation makes the result production-ready. When every decision shares the same anatomical foundation, even an impossible creature can feel as though it belongs in the world.
Need a creature surface that holds up from concept through animation and final integration? Explore Mimic Creatures’ production services or contact our team to plan a custom asset for games, VFX, XR, or immersive storytelling.
How do you texture a digital creature so its skin, scales, fur, scars, and wear feel biologically connected instead of digitally painted?
Creature texturing turns a sculpt into a believable living surface. The strongest work does more than add color: it explains anatomy, age, habitat, moisture, damage, grooming, and the way each material responds to light. A production-ready texture set must survive animation, close-ups, changing illumination, and the technical limits of games, VFX, XR, or virtual production.
This guide presents a practical creature texturing workflow from reference and biological logic through UVs, material breakup, displacement, look development, and delivery. It complements Mimic Creatures’ creature design services and its guide to building believable 3D creatures, while focusing on the decisions that make a surface feel alive.
Table of Contents
1. Start Creature Texturing With Biological Logic
2. Build UVs and Resolution Around the Camera
3. Layer Color, Roughness, Displacement, and Subsurface Detail
4. Connect Grooming, Scales, Scars, and Wear
5. Validate Creature Textures for Games, VFX, and XR
Start Creature Texturing With Biological Logic
Before opening a painting application, define what the creature is made of and why. Its surface should emerge from anatomy, environment, behavior, and story. Ask whether the skin is mammalian, reptilian, amphibious, avian, insect-like, mineral, synthetic, or a deliberate hybrid. Decide how it regulates temperature, protects joints, sheds water, heals injuries, attracts mates, hides from predators, or displays dominance. These functions create a material hierarchy that is far more convincing than random noise.
Reference should be organized by purpose. Gather wide images for overall pattern, medium views for folds and directional flow, and macro photography for pores, scales, keratin, feathers, scars, and transitions. Do not copy one animal wholesale. Compare species that solve similar environmental problems, then combine observations according to the creature’s anatomy. The research logic used in alien creature design helps an invented surface remain understandable when no exact real-world equivalent exists.
Map zones before painting detail. Mark high-friction areas, protected cavities, thin membranes, fatty regions, rigid plates, calluses, blood-rich tissue, exposed horn, and places that collect dirt or moisture. Consider how movement changes them. Skin around shoulders compresses differently from a belly; lips and eyelids need softness; foot pads need grip and wear; horns and claws grow in layers. When texture follows deformation, animation reinforces the design instead of revealing a static shell.
Separate permanent species traits from temporary states. Pigmentation, scale arrangement, pores, and old scars may belong to the core asset. Fresh wounds, wetness, mud, dust, frost, or story-specific paint should remain adjustable. This makes the creature easier to reuse across sequences, levels, lighting conditions, and narrative states without repainting the whole surface.
Write a biological purpose for every major material.
Study transitions between skin, horn, fur, scale, membrane, and mouth tissue.
Review the material plan with modeling, rigging, grooming, lighting, and animation.
Approve large patterns at shot distance before adding microdetail.
Build UVs and Resolution Around the Camera
UV decisions should follow how the creature will be seen, animated, and delivered. A face used in cinematic close-ups needs more effective resolution than a hidden underside. A game boss viewed from several distances needs stable mip behavior and predictable streaming. An XR creature may be inspected from angles the director cannot control. Define the closest camera, output resolution, expected screen coverage, animation range, and target memory before choosing tile counts or texel density.
Keep related anatomical regions easy to inspect and paint. Seams should sit in natural boundaries or low-visibility zones, but never at the expense of severe stretching around joints and expressive areas. Test UVs with a grid while the rig performs extreme poses. A layout that looks clean in neutral pose may distort around a jaw opening, wing fold, crouch, or shoulder rotation. Mimic’s explanation of how 3D character modeling changes for creatures shows why topology and motion must be planned together.
Resolution should be intentional rather than uniformly maximal. Hero regions may use additional UDIMs or layered detail maps, while repeating pores, scales, and microfibers can come from tileable maps, procedural masks, or shader detail. Maintain consistent apparent detail across adjacent tiles and document exceptions. If one limb has twice the density of the torso without a camera reason, the difference can become visible under grazing light.
Create neutral diagnostic renders early. Use calibrated lighting, a plain material, and several camera distances to check seams, stretching, texture frequency, and silhouette. Rotate the light to expose distortion. This is the inexpensive stage to adjust UV allocation; late structural changes can break paint, groom masks, displacement, caches, and approved look-development renders.
Layer Color, Roughness, Displacement, and Subsurface Detail
Believable creature texturing depends on relationships between channels. Base color should describe pigmentation without baked lighting. Roughness should explain oil, dryness, abrasion, dust, mucus, scars, and material changes. Normal and displacement maps should support form at different scales. Subsurface and transmission should respond to tissue thickness, blood flow, and backlighting. When every channel repeats the same noise at the same strength, the result looks procedural rather than organic.
Work from large to small. Establish broad color families across the body, including countershading, camouflage, display markings, and blood-rich regions. Add medium-scale breakup around muscles, joints, scale groups, wrinkles, and wear. Only then introduce tertiary detail. Return to delivery distance after every pass. Detail that looks impressive at extreme zoom may disappear in the shot or create distracting shimmer in real time.
Roughness is often the most important realism channel because it controls highlight shape. Compare a wet nose, dusty hide, oily eyelid, dry scale, scar, claw, and mouth interior under one light. Their colors can be similar while their highlights differ completely. Build roughness from material logic, then introduce controlled irregularity. Avoid a global grunge overlay that makes every region equally dirty and erases anatomical hierarchy.
Displacement should reinforce sculpted anatomy, not compete with it. Use low frequency for folds and plate height, medium frequency for wrinkles and scale structure, and fine normal detail for pores or scratches. Check silhouette and deformation with displacement active. The creature integration guide explains why surfacing must stay compatible with rigging, rendering, optimization, and delivery.
Subsurface scattering needs restraint. Thin ears, nostrils, membranes, gums, and eyelids may transmit more light than a thick torso or armored plate. Build thickness-aware masks and judge them under several exposures. Excessive scattering makes skin waxy; too little makes living tissue look like painted plastic. Match the effect to the creature’s scale because light penetrates a tiny animal differently from a giant beast.
Connect Grooming, Scales, Scars, and Wear
Complex creatures combine painted textures with geometry, grooming, procedural systems, and simulation. Fur density, clumping, length, color, and direction should follow anatomy and behavior. Hair grows from skin, parts around joints, compresses under contact, catches debris, and changes with age or health. Groom masks and skin texture need a shared plan. A beautiful groom feels detached if the underlying skin carries unrelated color, scale, or roughness patterns.
Scales and plates need hierarchy. Avoid stamping identical shapes across the body. Large structural scales should follow muscle and joint flow; medium groups should break repetition; fine detail can fill transitions. Compress or stretch the pattern where growth and movement demand it. Give exposed tips, valleys, and plate edges different wear responses. The surface should appear to have grown with the creature rather than being wrapped around a finished model.
Scars, dirt, and damage tell story only when they obey cause. A scar crosses pigmentation and structure in a way that reflects healing. Mud collects in cavities and splashes according to movement. Sun exposure affects upper planes; moisture gathers in protected folds; repeated contact polishes or thickens surfaces. Keep these layers separate when production may require clean, wet, wounded, aged, or environment-specific variants through a creature pipeline handoff.
For multi-limb species, directional detail becomes a rigging issue. Scale flow, fur direction, folds, and contact wear help viewers understand which limbs carry weight. Coordinate these cues with the deformation strategy in Mimic’s multi-limb creature rigging guide. Test repetitive detail during motion, since regular rows can reveal stretching or make complex movement visually noisy.
Validate Creature Textures for Games, VFX, and XR
A creature texture is not finished when it looks good in one beauty render. Validate under neutral studio light, hard directional light, soft overcast light, warm and cool environments, backlight, low exposure, and actual production lighting. Rotate both creature and light. Grazing angles reveal seams, unstable roughness, excessive displacement, and frequencies that flatten anatomy. Neutral tests separate material quality from flattering cinematography.
Animation tests are equally important. Open the mouth, blink, stretch the neck, compress the torso, fold wings, bend toes, and run locomotion cycles. Watch for UV distortion, sliding detail, broken groom masks, intersecting scales, and scars that deform like rubber. Review facial regions at conversational distance and close-up. A surface can be technically dense yet emotionally unreadable if markings or highlights obscure the eyes and mouth.
For games, test streaming, mip levels, filtering, compression, shader complexity, LOD transitions, and performance on target hardware. Reduce noise before increasing resolution. For VFX, inspect displacement bounds, render subdivision, ray depth, color management, cache compatibility, and shot continuity. For XR, evaluate both eyes, viewer distance, comfort, and changing illumination. Use the creature QA testing checklist to turn reviews into acceptance criteria.
Package delivery so another artist can reproduce it. Include source files, exported maps, color-space notes, UDIM conventions, channel packing, shader versions, displacement scale, groom dependencies, render or engine settings, and approved frames. Document which layers are species-level, character-specific, environment-specific, and shot-specific. This protects the look when assets move between teams, episodes, engines, or updates.
Approve the asset in motion, not only in a turntable.
Check every map for correct color space, naming, bit depth, and channel use.
Compare the final surface against the biological and story brief.
Confirm that close-up, gameplay, and XR distances receive appropriate detail.
Record known limitations and create a regression set for future revisions.
Creature Texturing FAQ
What is creature texturing?
Creature texturing authors the color, roughness, displacement, normal, subsurface, and other surface properties that make a digital creature’s skin, scales, fur, horn, claws, scars, and wear look coherent.
What maps are commonly used?
Common maps include base color, roughness, normal, displacement, thickness or subsurface controls, material masks, and renderer-specific packed maps. The exact set depends on the target pipeline.
How much resolution does a hero creature need?
Resolution depends on closest camera distance, screen coverage, output resolution, platform memory, and reuse. Allocate by visible need and validate with the real camera.
How do fantasy creature textures look realistic?
Ground them in biological purpose, anatomy, real material references, and consistent light response. Combine references according to habitat and behavior instead of adding random detail.
Should scars and dirt be in the base texture?
Permanent traits can live in core maps, while dirt, wetness, wounds, and environment wear are often better as controllable layers for clean and damaged variants.
How does grooming connect to texturing?
Skin color, follicle density, groom direction, clumping, roughness, and breakup must share masks and anatomical landmarks so fur or feathers feel rooted in the body.
What changes for game creatures?
Game assets require attention to memory, streaming, compression, mip behavior, shader cost, LODs, channel packing, and target hardware. Detail must remain stable in motion.
How should textures be reviewed before delivery?
Review varied lighting, extreme animation poses, every camera distance, and the target renderer or hardware. Then verify maps, color spaces, naming, dependencies, and performance.
Conclusion
Strong creature texturing is a design system, not a finishing effect. Biological logic guides material zones; UV and resolution planning protect detail; layered channels create credible light response; grooming and wear extend story; and disciplined validation makes the result production-ready. When every decision shares the same anatomical foundation, even an impossible creature can feel as though it belongs in the world.
Need a creature surface that holds up from concept through animation and final integration? Explore Mimic Creatures’ production services or contact our team to plan a custom asset for games, VFX, XR, or immersive storytelling.
Comments